Skip to content

Text to STL for a slicer, after you generate a GLB

Describe an object, generate a GLB, then export triangles for a slicer. This page is the generation step. It returns a GLB. It does not write an STL by itself. The triangle file is a second, local conversion once you can see the mesh.

Already have a GLB?
Supply crate: actual text-to-model result

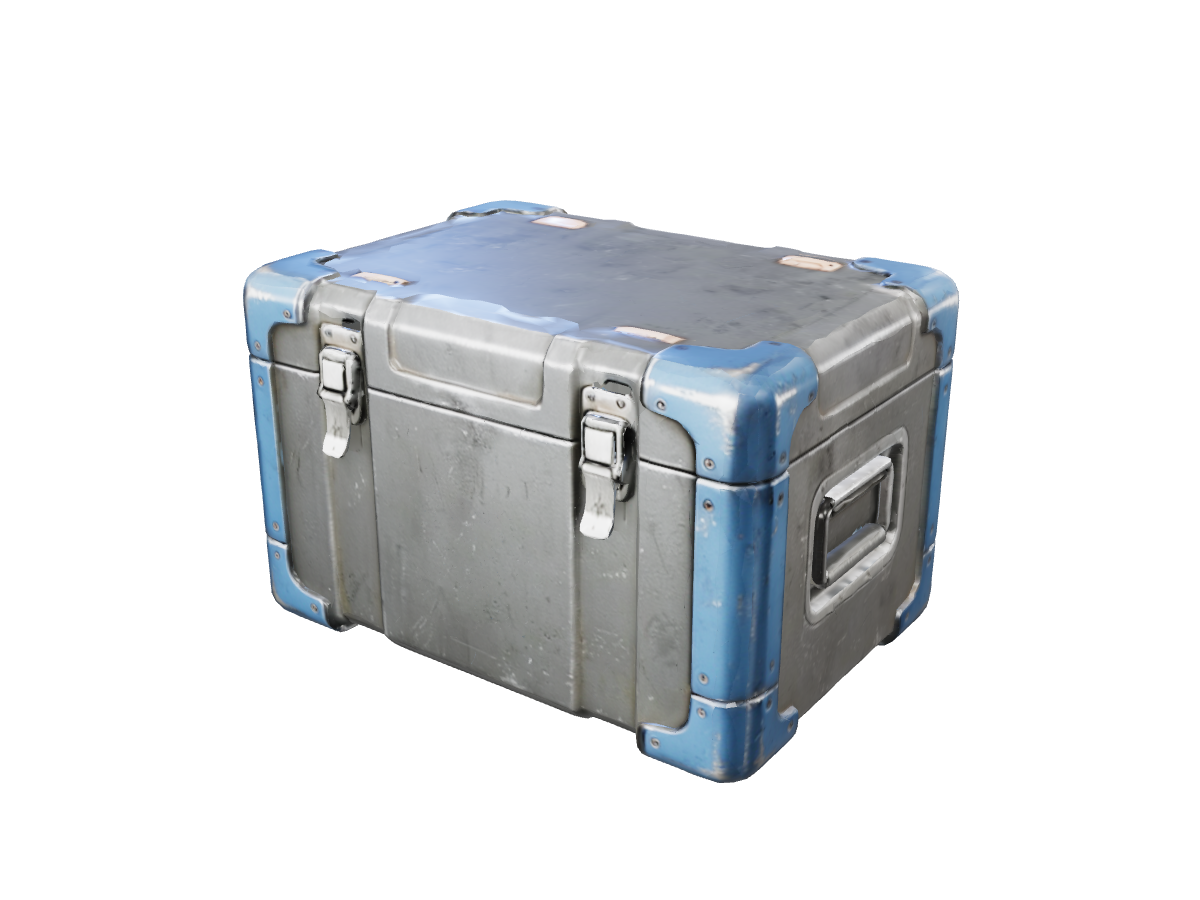
A rectangular supply crate with blue corner guards and silver lid hardware, generated from the displayed description.

Actual text input
A single compact sci-fi supply crate for a game prototype. Rectangular graphite body, reinforced blue corner guards, recessed carry handles on both short sides, two silver lid latches, small copper hinge details. Closed solid lid, practical readable silhouette, worn painted metal, realistic materials. Full isolated object, no text, logos, background props or platform.

Text to STL

0/1000
Create image
Model license
Est. time varies
Loading 3D preview...

What you get, and what you do not get yet
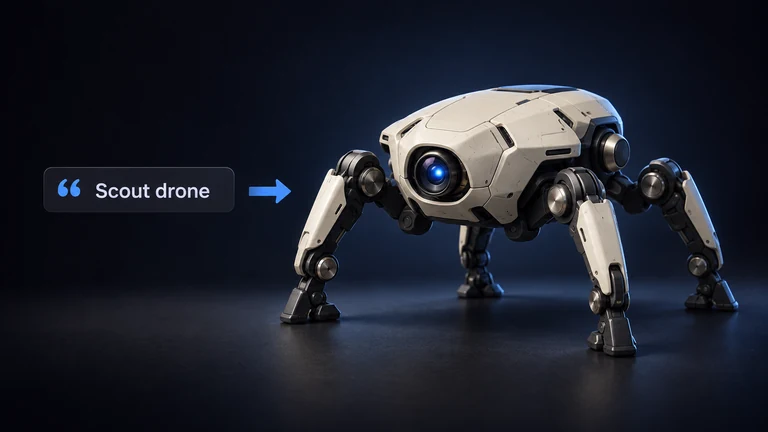
A short written prompt leading to a generated 3D mesh.

The workspace takes a written description and returns a GLB you can rotate. Generation signs you in, uses credits, and runs in the cloud. The result is a mesh to inspect, including sides the prompt did not literally draw. Those sides are inferred. They are not a scan and not a CAD solid.

An STL is still a separate file. Open the GLB in glb to stl when you want triangles. That conversion runs on your device, accepts a GLB up to 100 MB, and downloads without a separate account step. It keeps the surface and drops materials, bones, and animation. It does not repair the mesh, and it does not mean the object is ready to print.

Use this page when you have a description and no model yet. Use glb to stl or OBJ to STL when you already have the file.

Write a description the mesh can follow

Name the object, the overall form, and one or two features a printer would need to see: a handle, a base, a lid, a wall you expect to be thick. A short, concrete sentence beats a list of moods. "A ceramic pour-over cone with a thick foot and a single side handle" gives the generator a silhouette. "A beautiful modern object" does not.

Say what the object is, not the printer brand or the slicer profile. Those settings belong in UltiMaker Cura, PrusaSlicer, Bambu Studio, or OrcaSlicer after you have triangles. The generator does not know your nozzle size.

If the back of the object matters and you have a picture, Image to STL or a multi-view generation is the better start. A single description has to invent the hidden side. Look at that side in the viewer before you export.

Three steps from a sentence to an STL

Generate the GLB

Sign in, enter the description, and generate. The task uses credits and returns a GLB. Wait until the mesh is visible. A failed or still-running task is not a file you can slice. The workspace on this page does not offer an STL button. The GLB is the result to judge first.

Inspect the inferred sides

Orbit the model. Check the back, the underside, and any opening you described. Wireframe and a plain shaded view both help. Thin decorative parts and floating islands are common in a first generation. If the form is wrong, change the description and generate again. Exporting triangles will not redesign the object.

You can also open the GLB in the 3D viewer or split a complicated shape with Separate parts before the print export. Separate parts returns components. It does not lay them out on a print bed.

Export triangles, then slice

Open glb to stl with that GLB. The export limit is 1 million triangles and 3 million vertices, and the STL is written in millimeters from glTF meters. Download the STL and import it into UltiMaker Cura, PrusaSlicer, Bambu Studio, or OrcaSlicer. Measure one dimension. Check wall thickness, outward faces, and whether the surface is closed. Set the machine and the supports in the slicer. The STL does not contain those settings.

Checks to make before you print

A generated mesh can be watertight in one area and open in another. Look at rims, handles, and the underside. Close holes in a mesh editor if the slicer warns you. Flip faces that point inward. Thicken walls that are thinner than your nozzle and material can hold.

Scale is in millimeters after the STL export, based on the GLB's meters. A character described as life size and a desk object described without a size can come out at a scale you did not want. Measure in the slicer and scale there before you print.

Color on the GLB will not be in the STL. If you still want the textured model for a web page, keep the GLB. If a desktop 3D tool wants a material file, use GLB to OBJ instead of the print export.

Other ways to reach an STL

You already have a GLB: glb to stl. You already have an OBJ: OBJ to STL, and set mm, cm, or m so the print is the right size. You have a photo: Image to STL, PNG to STL, or JPG to STL. You want the mesh in a game engine or a viewer with materials: keep the GLB, or use GLB to USDZ for an Apple AR preview. All of these paths are linked from the 3D converter.

Frequently asked questions

Does this page download an STL directly?

The workspace generates a GLB from your description. That task signs you in, uses credits, and runs in the cloud. There is no STL file at the end of generation. When the GLB looks right, open glb to stl and export triangles on your device. That second step is local, limited to a GLB of 100 MB, 1 million triangles, and 3 million vertices, and the STL download does not require a separate account. Skipping the inspection step and expecting a printable solid from the prompt will not work. The prompt makes a mesh to review. The slicer file comes after that review.

What should the description include?

Include the object, the overall form, and the parts a mesh needs in order to read as that object: a base, a handle, a lid, a spout, a wall. One or two concrete features are enough. Avoid slicer settings, brand names, and print temperatures. The generator does not apply them. Avoid vague style words as the whole prompt. If a dimension matters, say the kind of object and then measure the GLB after generation, because a sentence does not lock a millimeter size. Hidden sides are inferred. Orbit them before you export. If you have a photo of those sides, start from Image to STL instead.

Is the generated mesh safe to print?

Generation does not check wall thickness, outward normals, or a closed surface. A model can look finished in color and still be thin, open, or inside out. The later STL export copies the surface. It does not repair it. Before you print, measure walls for your nozzle and material, flip bad faces in a mesh editor, and close holes the slicer complains about. Then set orientation, supports, infill, and the printer in UltiMaker Cura, PrusaSlicer, Bambu Studio, or OrcaSlicer. Keep the GLB until you are satisfied. You can generate again from a clearer description if the form is wrong. An STL of a wrong form is still a wrong form.

How do credits, sign-in, and the local export fit together?

Creating the GLB requires a signed-in account and enough credits for the generation you choose. The credit cost is shown for that task before you run it. A failed task is not a successful model. The STL step is different. glb to stl converts a GLB in the browser and the download from that page does not require an account. Do not treat the whole path as a free local generator. The description-to-mesh part is the cloud task. The mesh-to-triangles part is the local export. Private generation and downloads of saved originals follow the account rules described on the pricing page.

Why does the back of the object look invented?

A description has no camera. The generator builds a full mesh, including faces you never specified. Those faces are a guess from the wording and the model you selected. They can smear detail, close a hole you wanted open, or add a lump on the far side. Orbit the GLB in this workspace or in the 3D viewer and look at the back, the bottom, and any cavity. If the hidden side matters, write a more specific description or start from photographs. Exporting to STL will not invent a better back. It only freezes the current surface as triangles.

How big is the STL, and which slicers open it?

After you run glb to stl, the STL is in millimeters, converted from the GLB's meters. The export allows up to 1 million triangles and 3 million vertices, with the GLB itself up to 100 MB. UltiMaker Cura, PrusaSlicer, Bambu Studio, and OrcaSlicer import that STL as geometry. The file has no printer, no material preset, and no support plan. Measure one real dimension in the slicer. Scale there if the generated size is a desktop toy or a life-size object you did not want. A successful import only means the triangles opened.

Can I keep the color or edit the mesh as OBJ?

Keep the GLB for any viewer or engine that reads materials. GLB to OBJ writes a ZIP with the mesh, an MTL, and supported base-color textures when a desktop application wants OBJ. That package drops the skeleton and the animation, and it does not carry every PBR channel. GLB to USDZ is the static Apple AR path. None of those are substitutes for a print check. The slicer path remains glb to stl, then your own thickness, normal, and scale checks. If you edit an exported OBJ and need triangles again, use OBJ to STL and set the source units.

What if I already have a file and do not need a prompt?

Skip generation. A GLB goes to glb to stl. An OBJ goes to OBJ to STL, where you must set mm, cm, or m. A PNG, JPG, or other reference image goes to Image to STL, PNG to STL, or JPG to STL, which also generate a GLB before the triangle export. The 3D converter lists each of those pairs in one place. This page is only for the case where the input is a description and the GLB does not exist yet.

Generate a GLB