Skip to content

Image to 3D converter: turn photos, sketches, and renders into GLB

Transform a single reference image into a 3D starting point. NovaGen3D's image to 3D converter generates glTF 2.0 (.glb) meshes from photographs, digital concept art, and product sketches.

Orbital explorer character

Image to 3D workspace

Model examples

Image to 3D

Image input

0/1000

Reference image *

Advanced settings

ResultsNo task selected
Loading 3D preview...

Evaluate silhouettes, preview materials from every camera angle, and export starting geometry for review in your 3D workflow. Sign in to generate with your welcome credits.

Orbital explorer character: Reconstructed model

Image preparation guidelines for optimal 3D reconstruction

The quality of your 3D generation depends directly on the clarity of your input image. Follow these best practices to ensure clean geometry:

  • Angle & Perspective: A three-quarter (3/4) perspective is ideal because it simultaneously reveals the front, side, and depth of the object in a single frame.

  • Framing & Margins: Keep the entire subject in frame with generous padding around all edges. Avoid images where legs, handles, or tips are cropped off.

  • Lighting & Contrast: Use even, diffused lighting. Avoid intense directional shadows or specular glare that obscure underlying surface contours.

  • Background Separation: Solid or transparent backgrounds make it easy for the vision encoder to isolate the subject's boundary silhouettes.

  • Supported Formats: Upload a single PNG, JPG, or WebP file up to 100 MB, or paste a publicly accessible HTTPS image link.
Spiral-glazed ceramic vessel: Original reference

How AI reconstructs hidden surfaces

Because a single reference image captures only one vantage point, NovaGen3D's deep learning vision pipeline infers the unseen back, interior, and underside:

  1. Inferred Shape: Hidden surfaces are generated from the visible subject and learned object patterns. Compare those surfaces with your intended design.

  2. Material Review: Check colors, seams, and lighting response on every side of the returned model.

  3. Rapid Inspection: Once generation completes, rotate the model in the interactive viewport to inspect how the rear and underside were formed. If you have precise reference images for multiple sides of your subject, use Multi-Image to 3D to provide more visual information.

Step-by-step: From 2D picture to 3D model

  1. Upload your reference: Drop your photo or illustration into the upload box, or paste an image URL.

  2. Select performance mode: Choose Turbo mode for rapid shape exploration, or Quality mode for more detailed shape exploration.

  3. Generate with account credits: Sign in and launch the reconstruction task. Generation runs asynchronously on high-performance cloud compute.

  4. Download and downstream use: Save the resulting .glb file. Open it in our 3D Viewer, animate it with Auto Rigging, or export it as an STL via our GLB Converter. Auto Rigging requires a suitable humanoid model and an active paid plan.

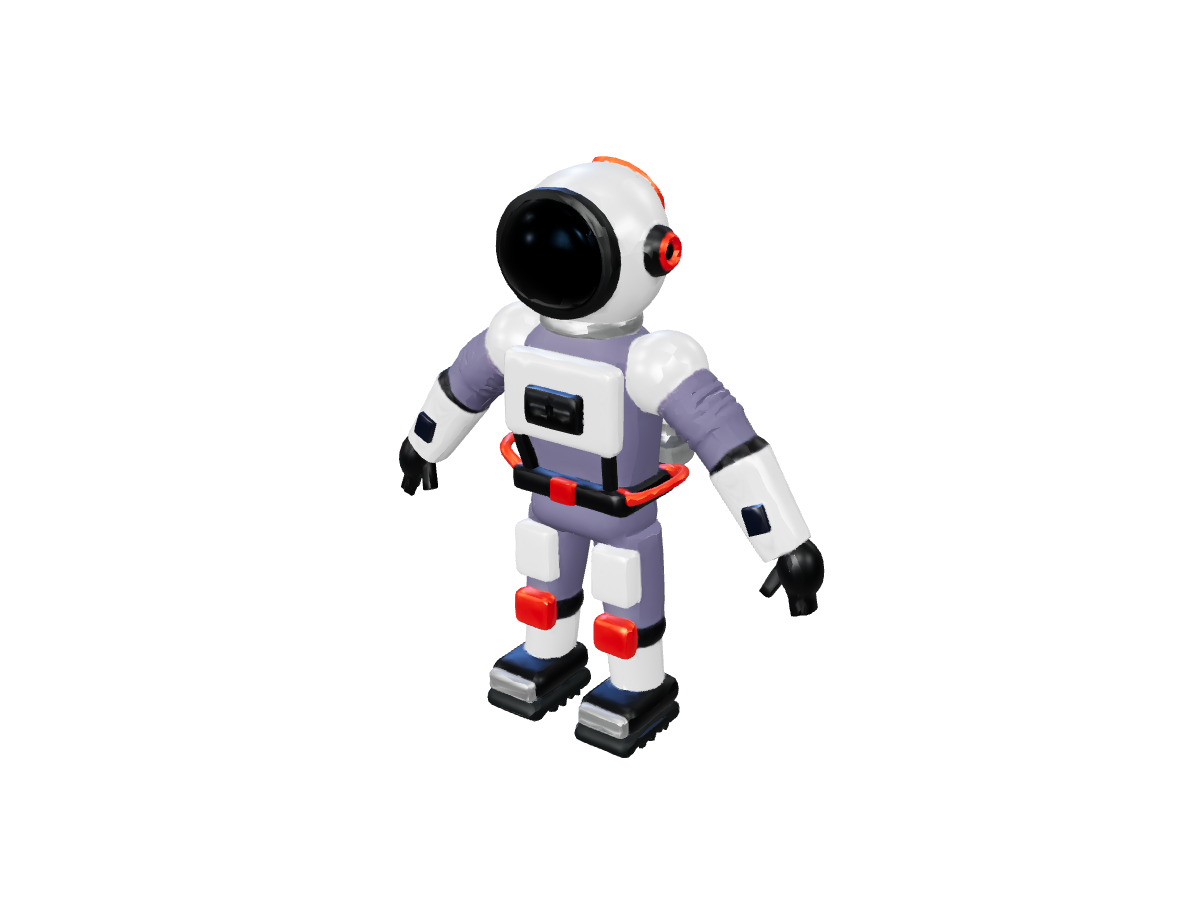
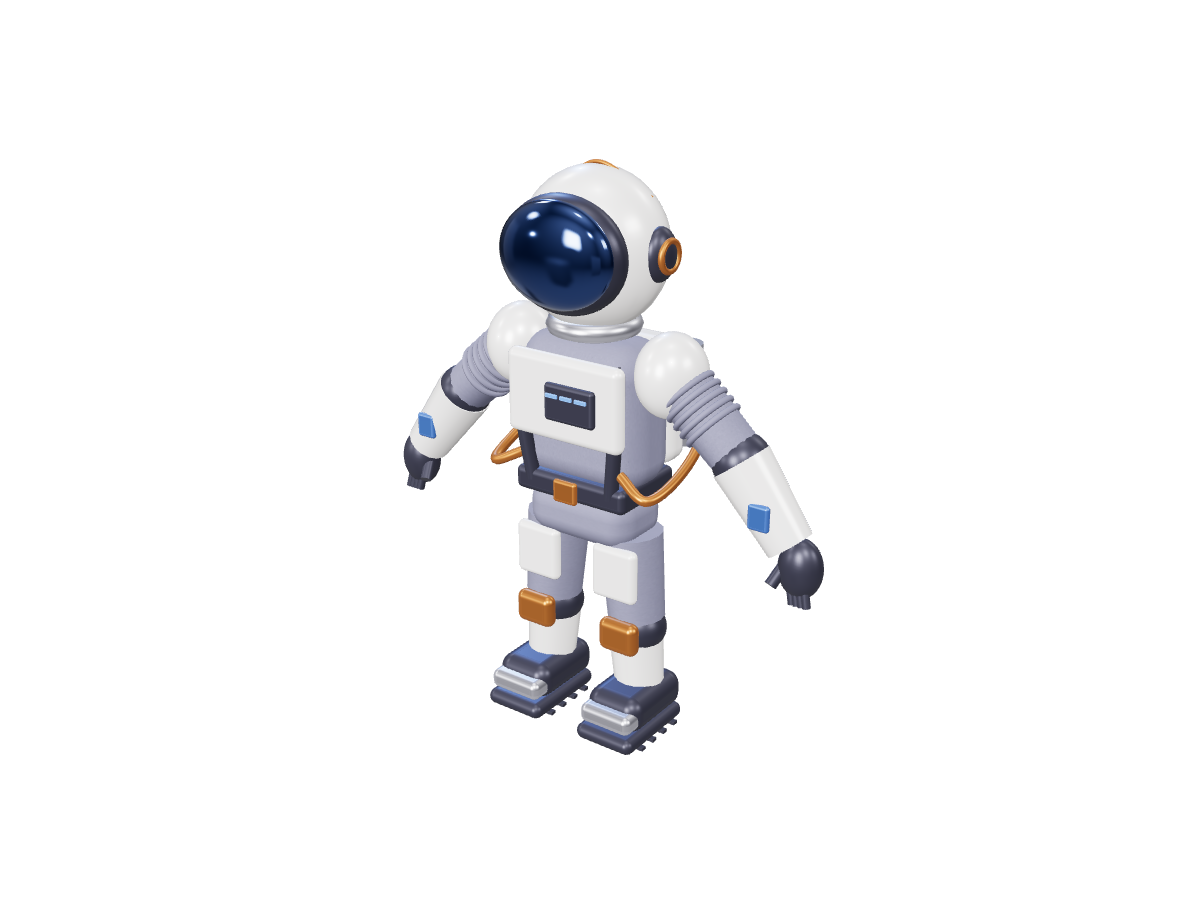
Orbital explorer character

Orbital explorer character: Original reference
Original reference
Orbital explorer character: Reconstructed model
Reconstructed model

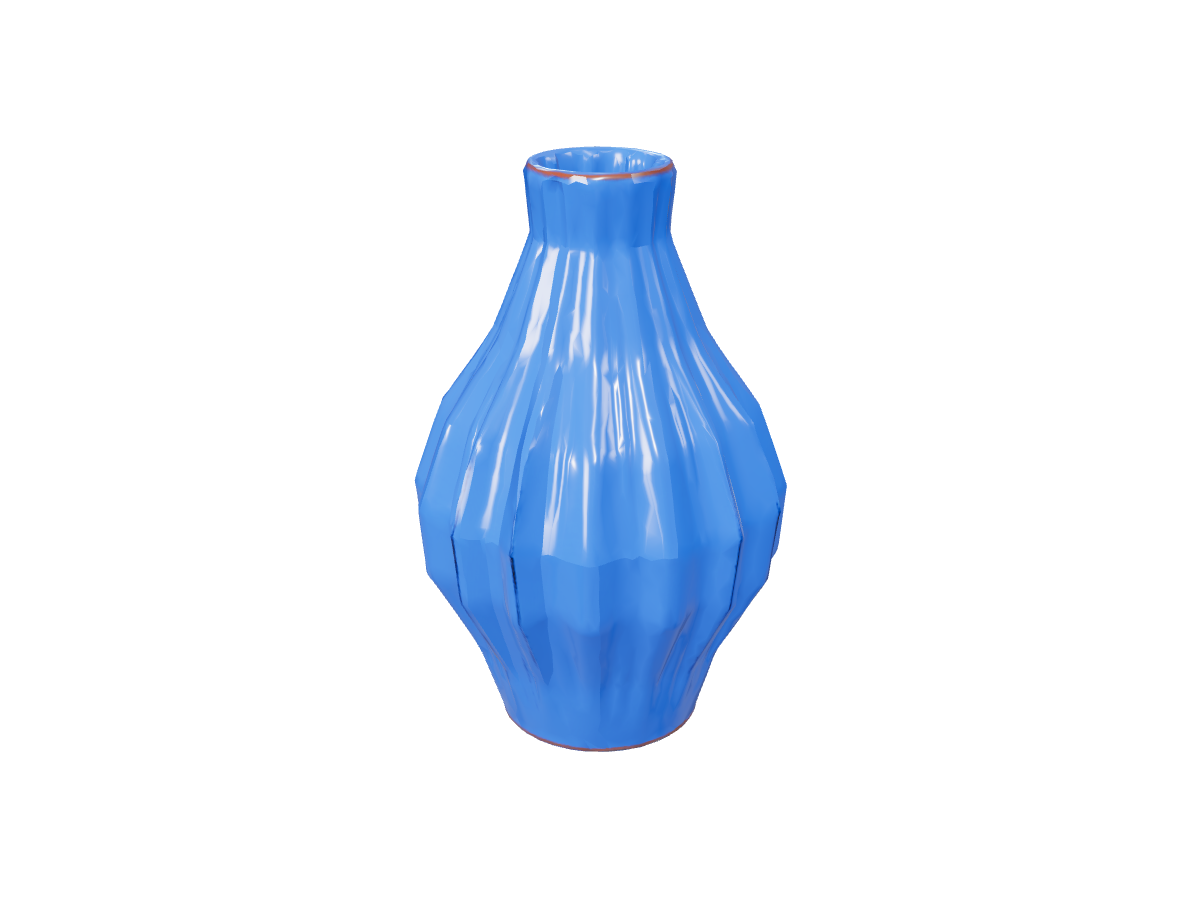
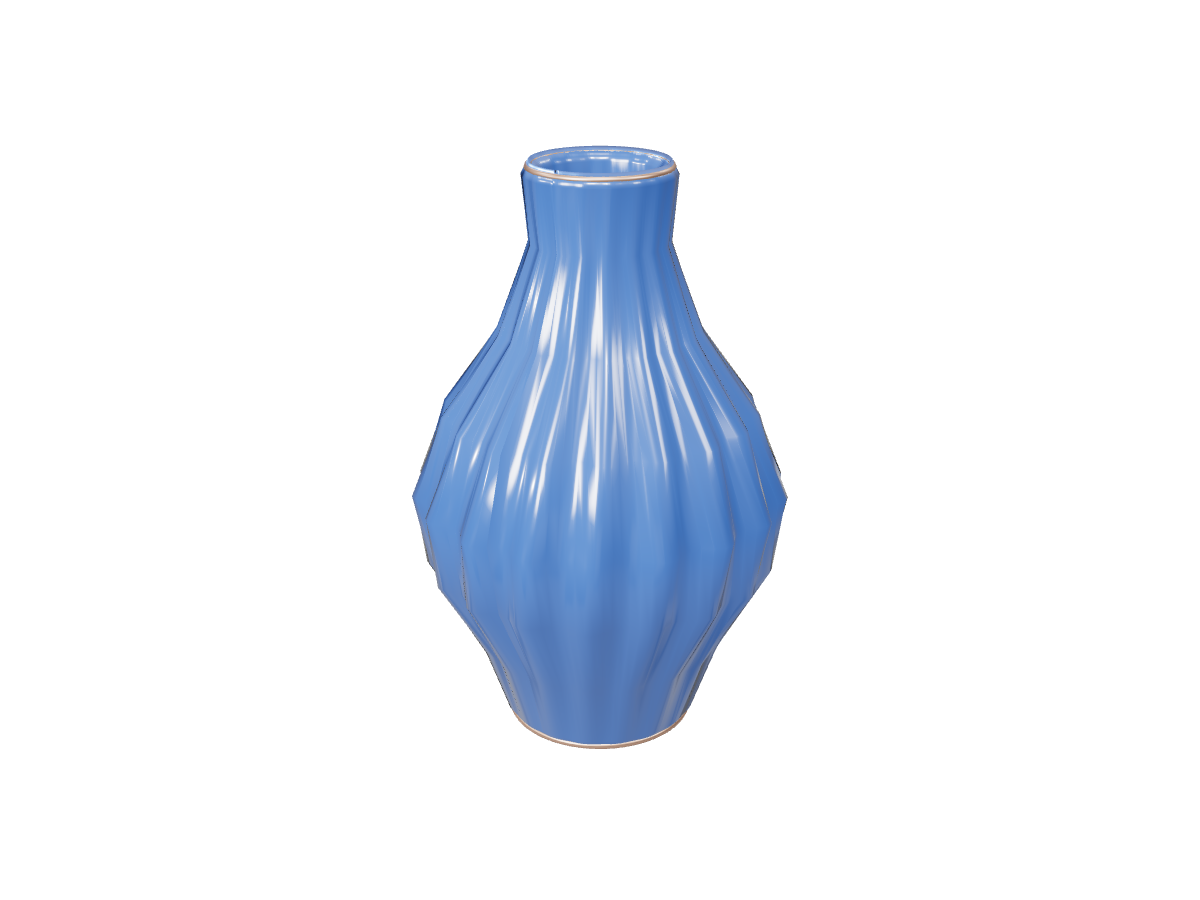
Spiral-glazed ceramic vessel

Spiral-glazed ceramic vessel: Original reference
Original reference
Spiral-glazed ceramic vessel: Reconstructed model
Reconstructed model

Frequently asked questions

Can I convert hand-drawn 2D sketches or AI-generated art?

Yes. Clean sketches, linework with clear value shading, Midjourney/Stable Diffusion concept renders, and real-world product photos all serve as effective inputs. Well-defined outer boundaries yield the crispest 3D geometry.

How does the generated model handle scale and dimensions?

Single-image reconstruction produces geometry in normalized coordinate space. To set exact millimeter or inch specifications for 3D printing or CAD assembly, import the downloaded GLB into Blender or your 3D slicer and adjust the uniform scale factor.

What should I do if the backside needs specific details?

When the backside contains crucial custom features—such as intricate buttons, zippers, or distinct logos—a single image must infer those details. In those cases, photograph or render additional angles and use Multi-Image to 3D to feed up to six distinct views into the reconstruction model.

How do account credits work for Image to 3D?

Image to 3D tasks consume account credits based on the chosen mode (Turbo or Quality). Newly registered users receive a one-time welcome credit grant upon sign-in, letting you test the complete image-to-model workflow risk-free.

Upload an image