Skip to content

3D model part segmentation: split GLB meshes into distinct components

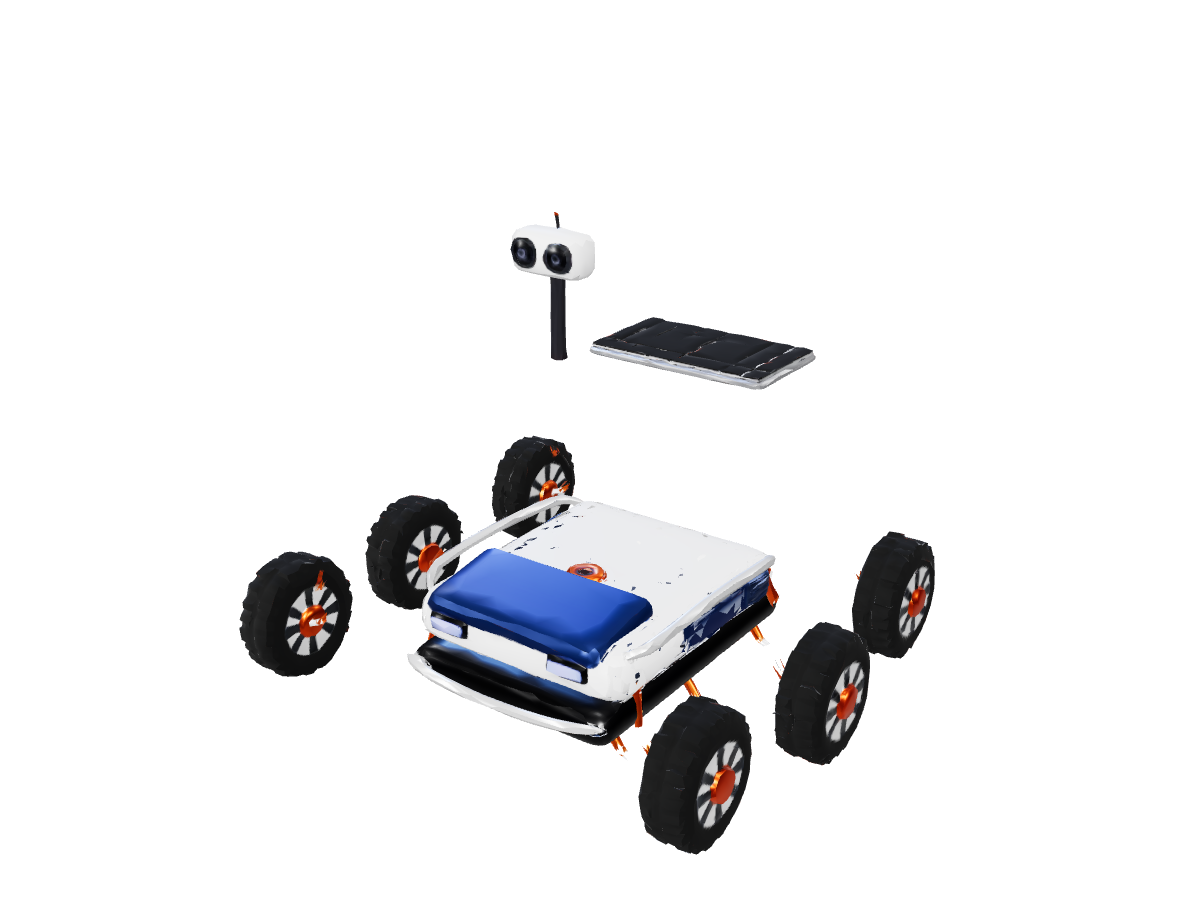
Decompose unified, monolithic 3D meshes into logically separated sub-components. NovaGen3D's 3D model part segmentation groups your GLB into separate mesh components that you can inspect and edit in the glTF scene graph.

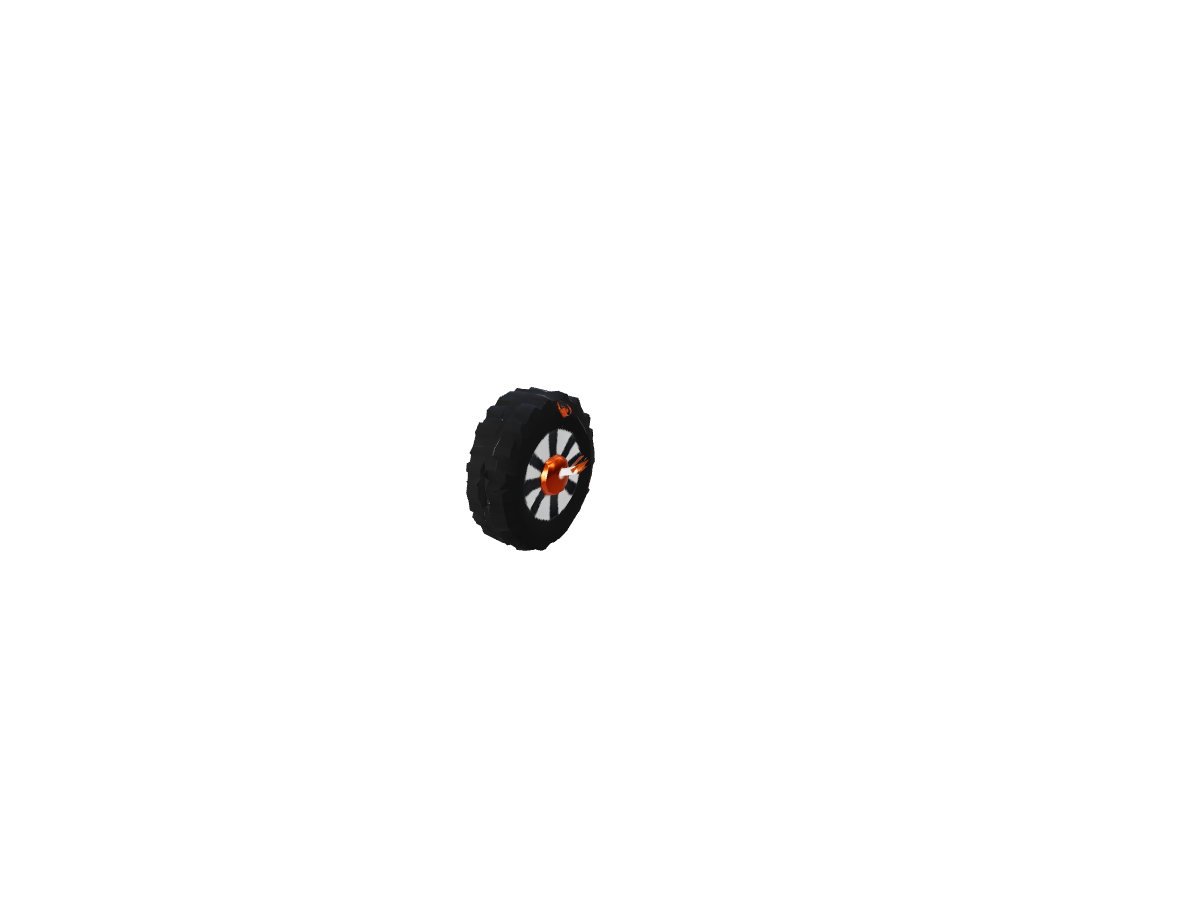
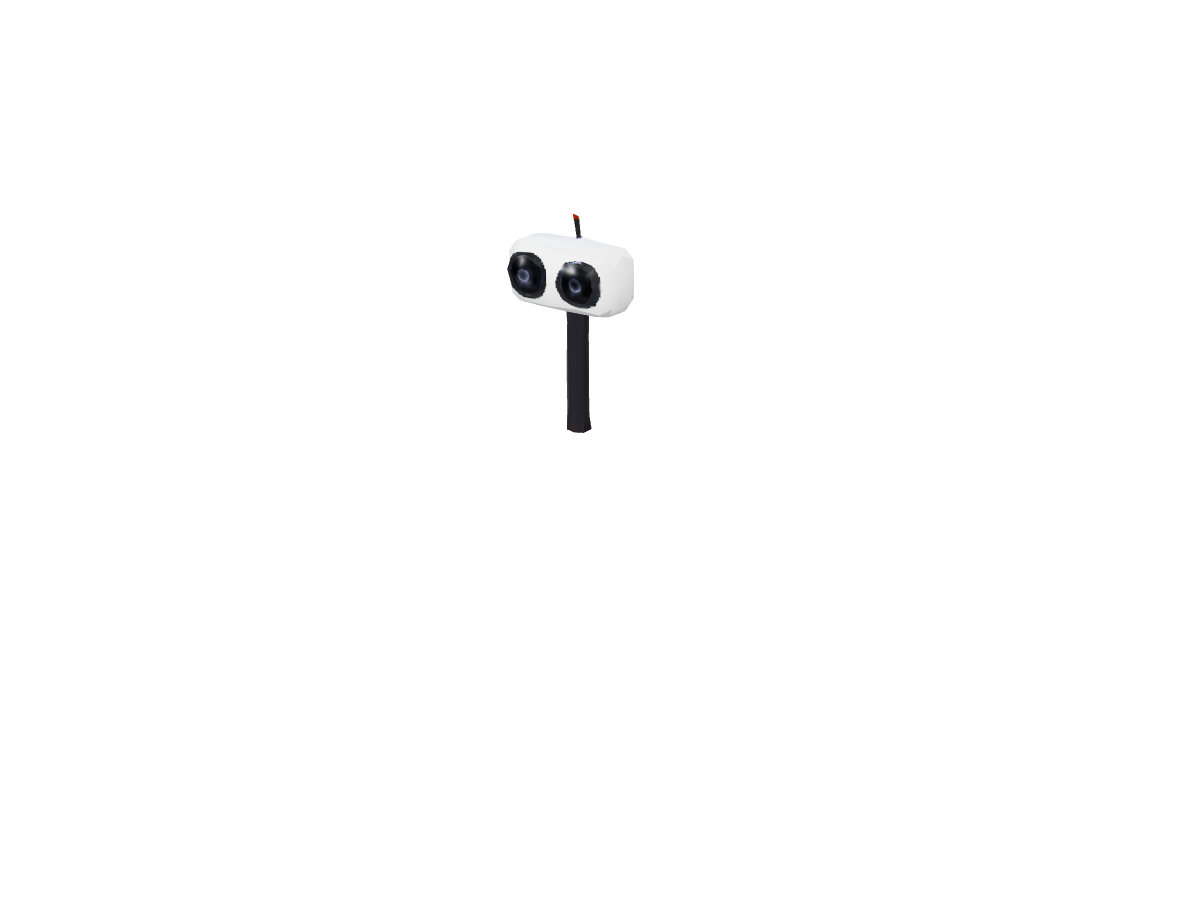
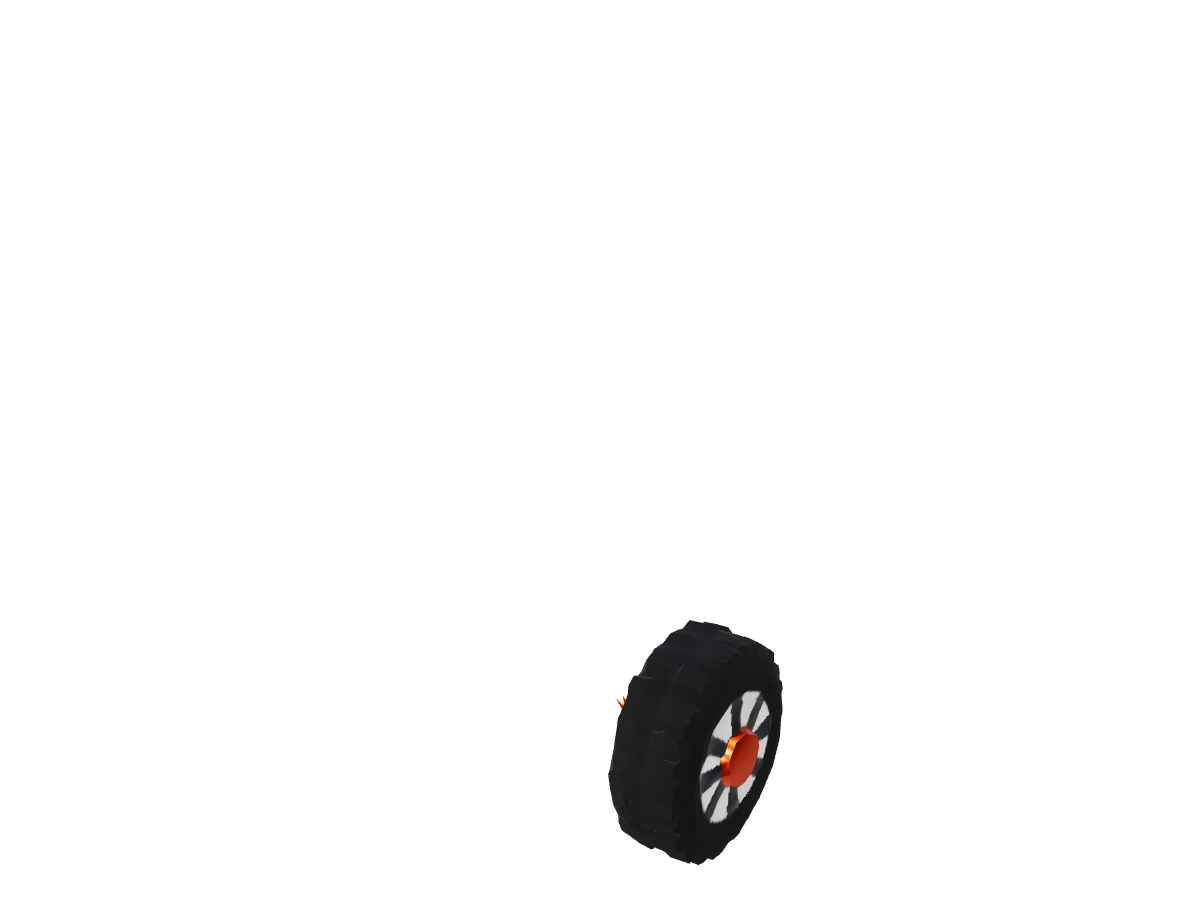
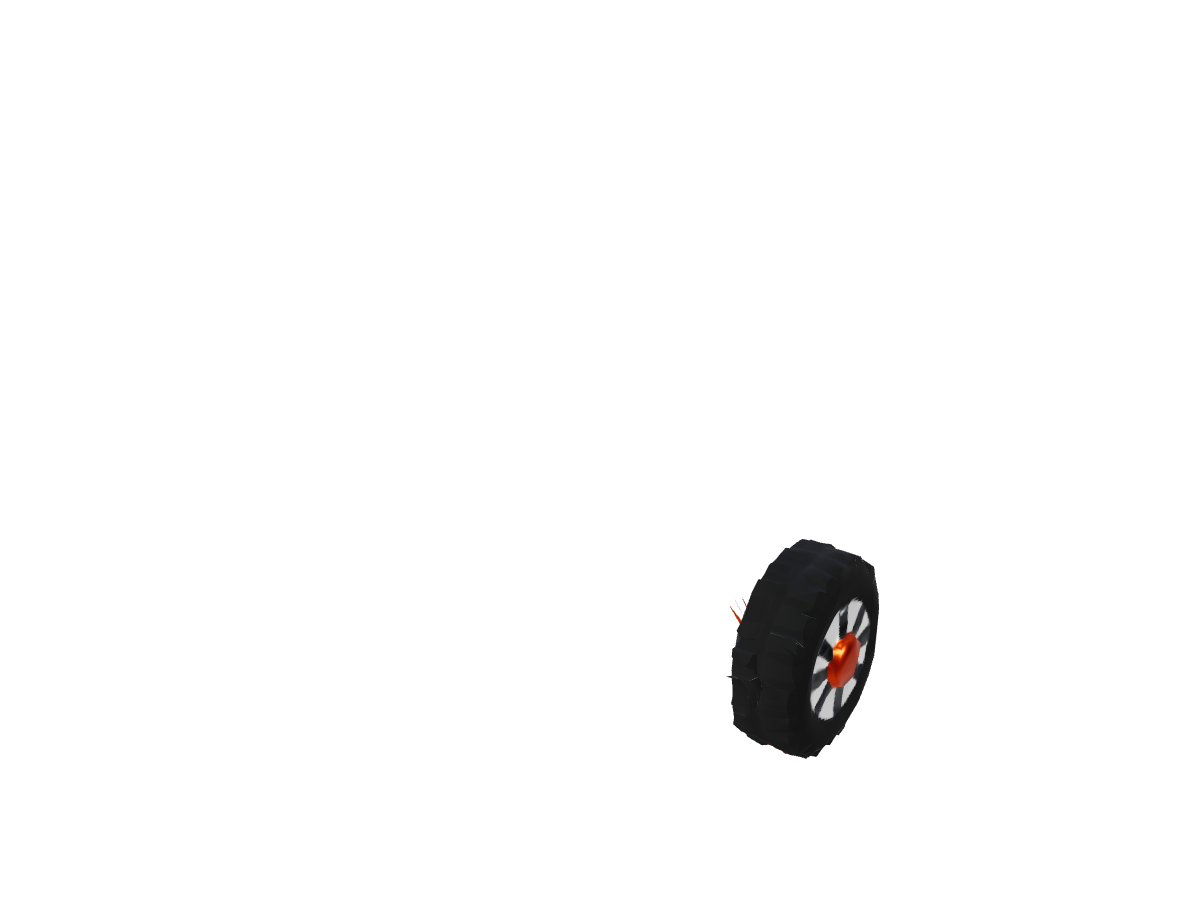
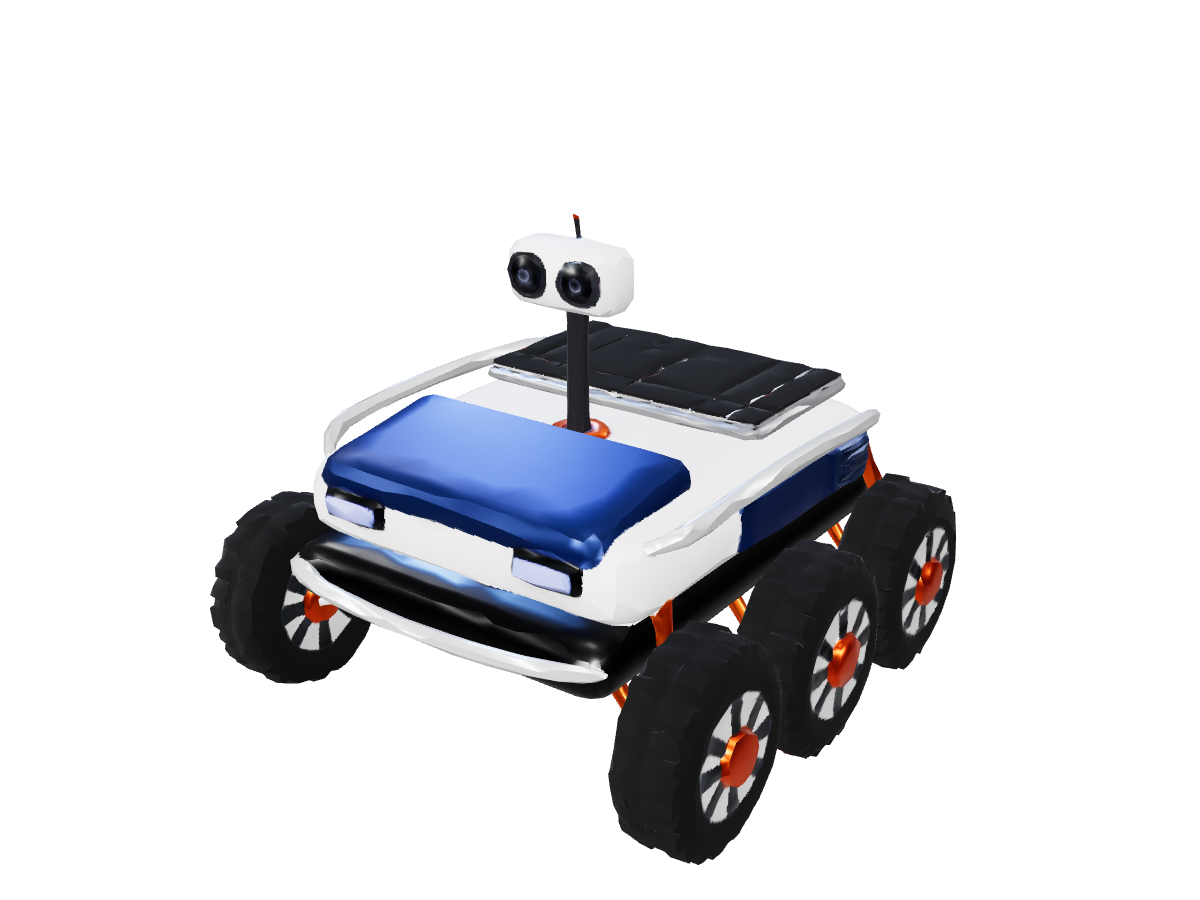
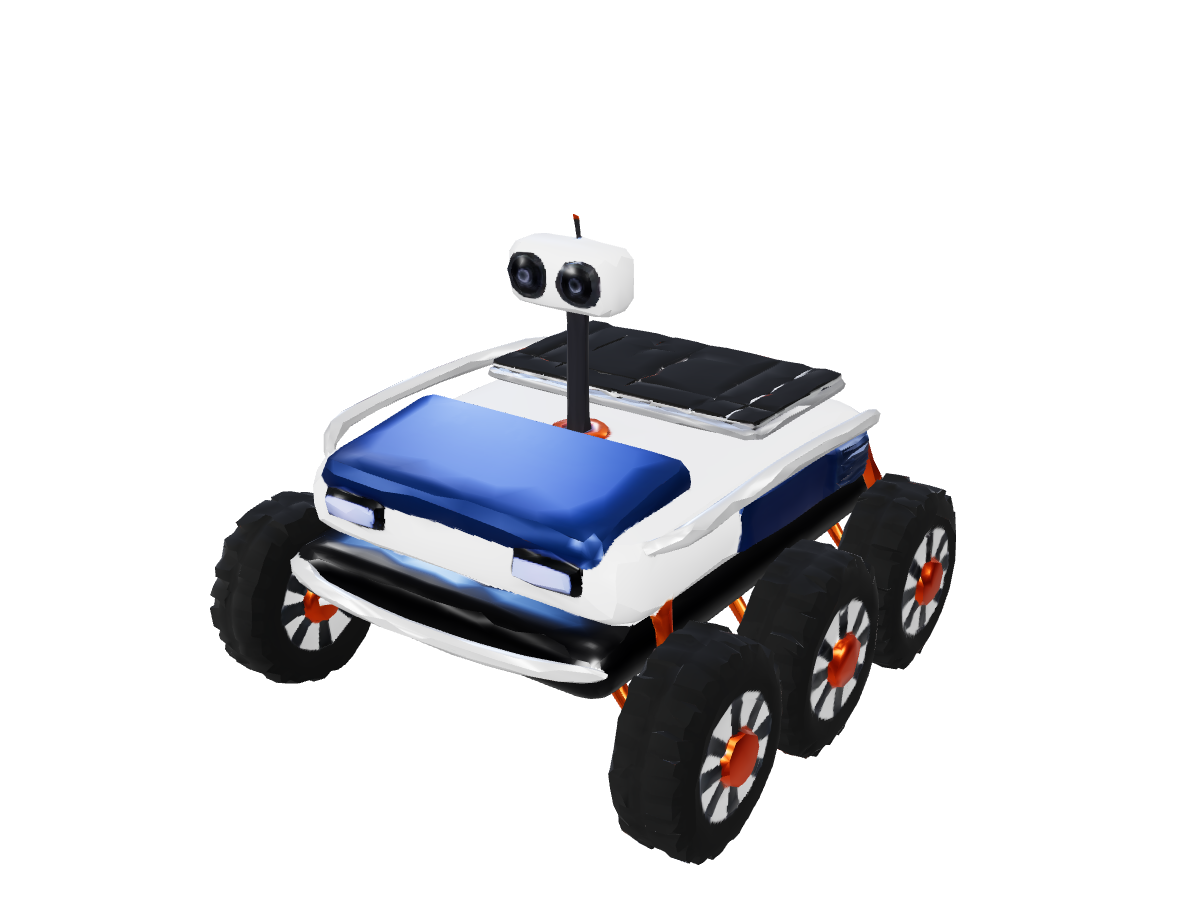
Rover: separated components

3D part segmentation workspace

Model examples

3D part segmentation

GLB model *

Select the model you want to work on.

ResultsNo task selected
Loading 3D preview...

Isolate components for specialized texturing, modular asset assembly, or kinematic motion setup. Sign in to start segmenting with your account credits.

Rover: separated components: Separated components

Why component-level 3D segmentation matters

Generative 3D tools and photogrammetry scans frequently output single, fused meshes. Manual face-loop selection and mesh separation can take hours. AI part segmentation accelerates this phase:

  • glTF Node Hierarchy: Separated parts are organized as distinct mesh nodes in the output .glb. In software like Blender, Unity, or Unreal Engine, you can select, transform, or hide individual pieces after importing the GLB with a supported importer.

  • Independent Material Channels: Apply distinct PBR shaders, emissive glows, or transparency settings to specific sub-parts without complex vertex grouping.

  • Modular Kitbashing: Extract wheels, weapons, furniture legs, or mechanical panels to build reusable component libraries for rapid scene dressing.

  • Foundation for Kinematics: Partitioning stationary bases from moving lids, drawers, or wheels is the essential first step before adding mechanical motion with Animate Parts.
Common segmentation use cases

Subject CategoryTypical Partitioned ComponentsDownstream Application
Furniture & DecorSeat cushion, wooden frame, backrest, legsSwappable upholstery fabrics and multi-material CMF
Consumer ElectronicsChassis, display glass, buttons, camera moduleExploded-view product diagrams and UI prototyping
Vehicles & MachineryBody shell, rotating wheels, windshield, headlightsDriving physics setup and cockpit interior editing
Character Props & ArmorHelmet visor, breastplate, pauldron, weapon bladeModular equipment swapping in game engines

Step-by-step: From monolithic GLB to segmented parts

  1. Upload your 3D model: Provide a standard glTF 2.0 (.glb) file. Ensure major components have discernible geometric boundaries.

  2. Launch AI segmentation: Sign in and initiate the task using your account credits. The service groups the model into separate components.

  3. Inspect the partitioned scene: Open the result in our interactive viewer. Check the returned parts in the 3D Viewer, where you can toggle individual meshes and inspect their boundaries.

  4. Download and downstream editing: Download the segmented GLB and use a supported importer or format conversion for your editor or game engine.

Rover: separated components

Rover: separated components: Source rover
Source rover
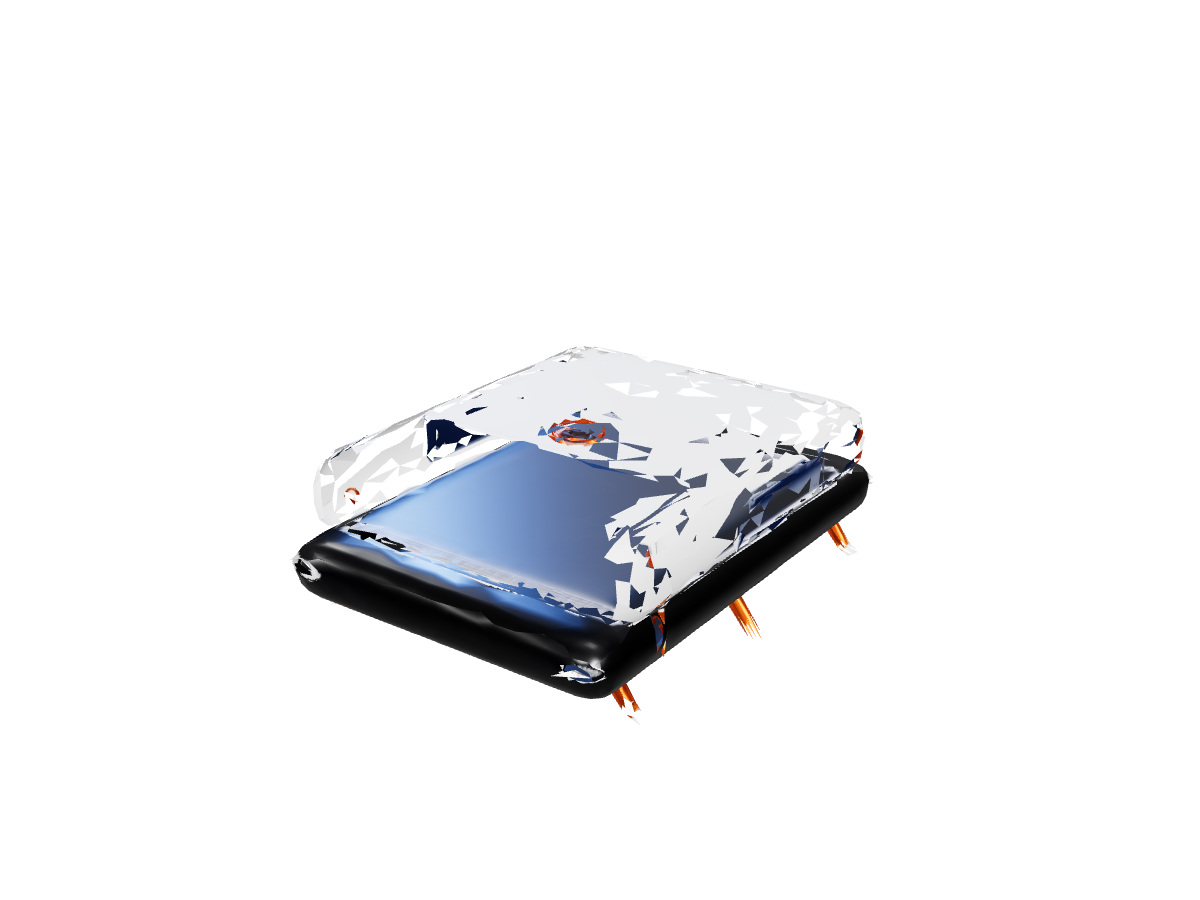
Rover: separated components: Separated components
Separated components
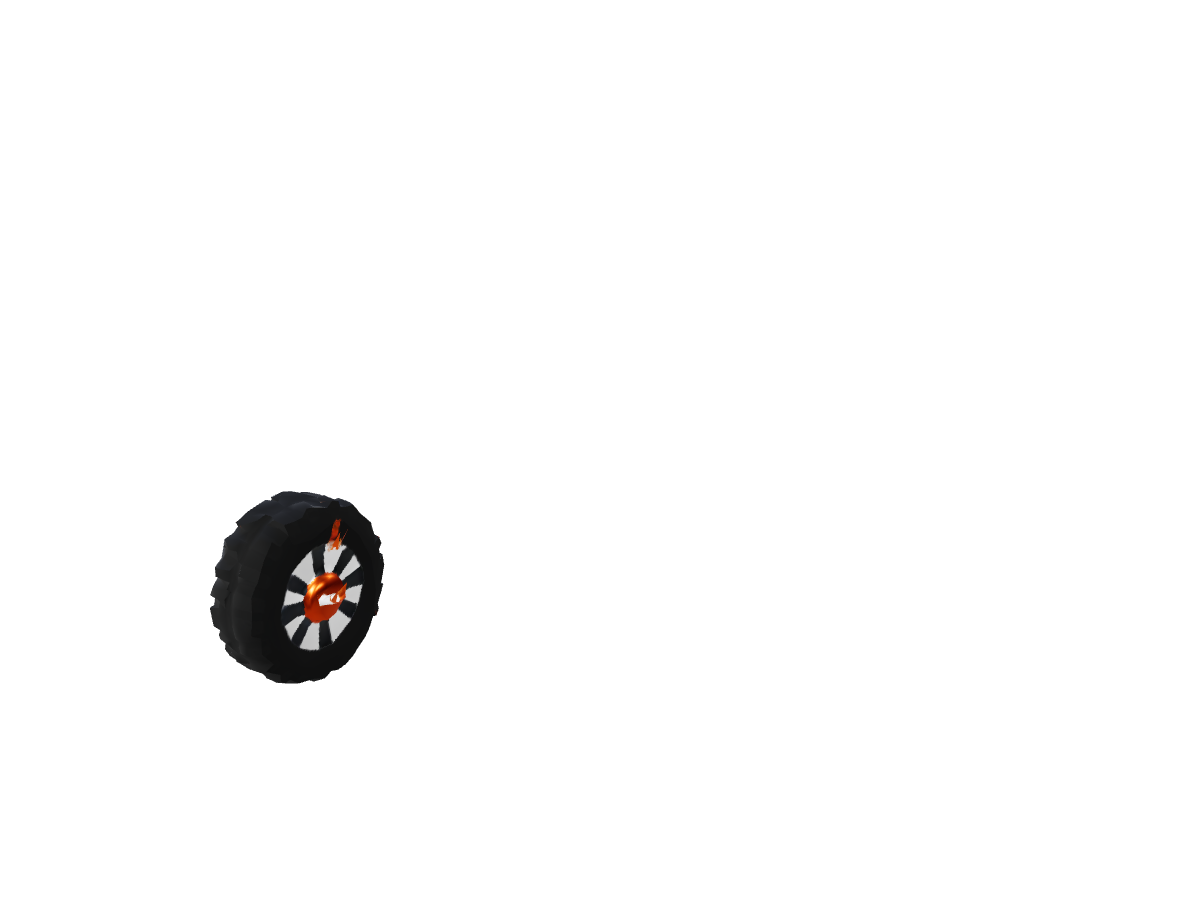
Rover: separated components: Returned component 1
Returned component 1
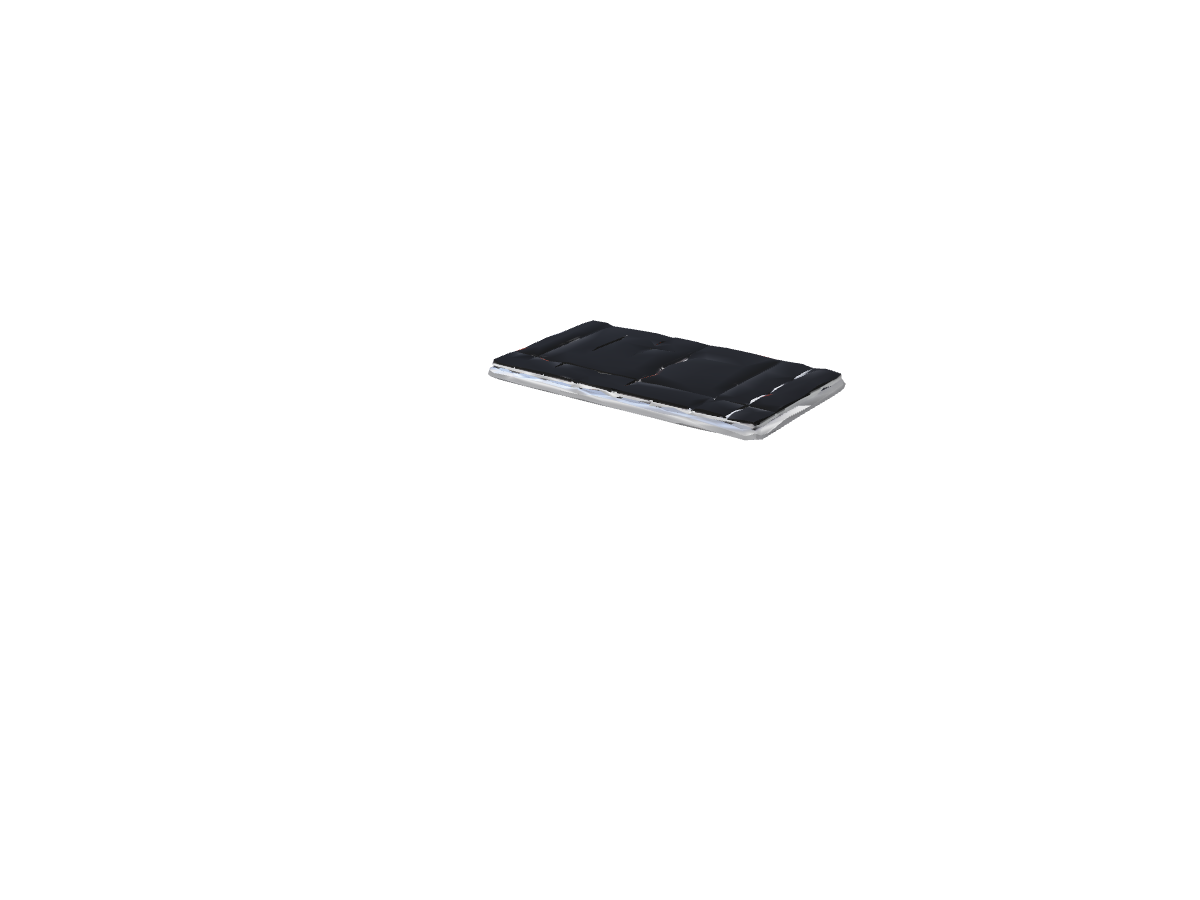
Rover: separated components: Returned component 2
Returned component 2
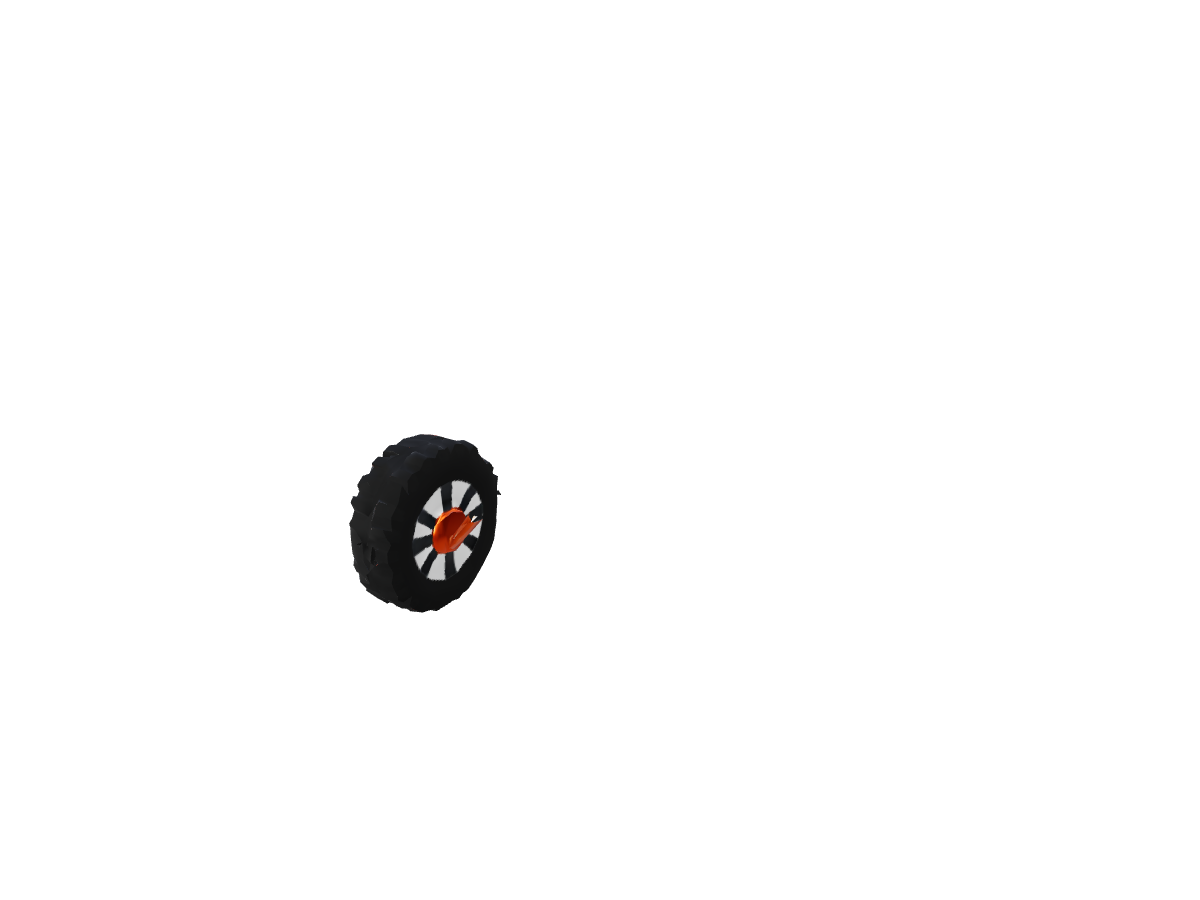
Rover: separated components: Returned component 3
Returned component 3
Rover: separated components: Returned component 4
Returned component 4
Rover: separated components: Returned component 5
Returned component 5
Rover: separated components: Returned component 6
Returned component 6
Rover: separated components: Returned component 7
Returned component 7
Rover: separated components: Returned component 8
Returned component 8

Frequently asked questions

How are the segmented parts structured in the downloaded file?

The downloaded file remains a standard .glb, with the segmented components structured as individual mesh primitives linked to separate nodes in the scene hierarchy. Use your editor's glTF importer to inspect and edit those nodes.

Can I refine boundaries that didn't separate perfectly?

Yes. Inspect the grouping against the components you need. If an edge boundary requires adjustments, open the segmented model in Blender, select the affected mesh node in Edit Mode, and fine-tune the seam using standard vertex selection tools.

What is the difference between Part Segmentation and Auto Rigging?

Part Segmentation splits hard-surface and organic objects into distinct rigid pieces (ideal for furniture, vehicles, and mechanical props). Auto Rigging is tailored for bipedal humanoid characters, adding an internal skeleton and smooth deformation skin weights.

Can I use welcome credits for part segmentation?

Yes. Your one-time welcome credit grant upon first sign-in can be applied directly to test 3D part segmentation on your models.

Split model parts